Table of Contents
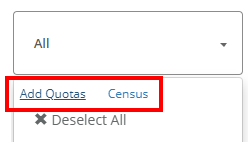
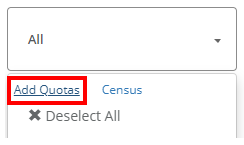
Build Your Own QuotasAdding Census QuotasGroup Quota ConditionsQuota NestingDelete QuotasTo create quotas for your survey, click on the drop arrow from the targeting field box. This will show you the options to Add Quotas or create Census Quotas
Build Your Own Quotas
If building your own quotas, click on the "Add Quotas" button.
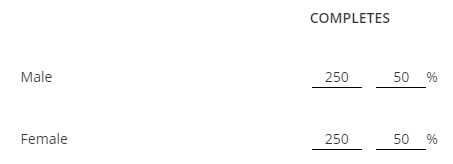
From there allocate the completes you need to each group by adding a value and/or by a percentage of your total value.
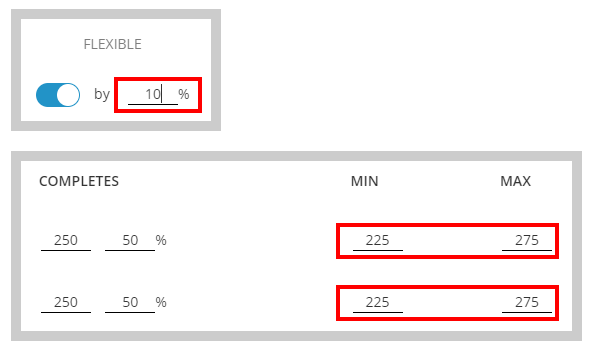
You can add flexibility to your quotas, to allow a minimum or maximum of respondents per group.
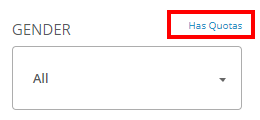
Click the "Apply" button when finished and a "Has Quotas" text will be visible above the targeting field box.

Watch Video
DeleteAdding Census Quotas
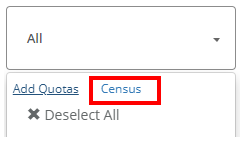
If you prefer to use a census distribution, from the drop-down option, you can click on the "Census" button, and this will automatically distribute your quotas.
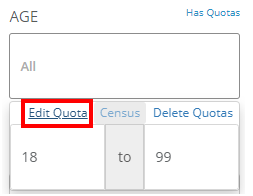
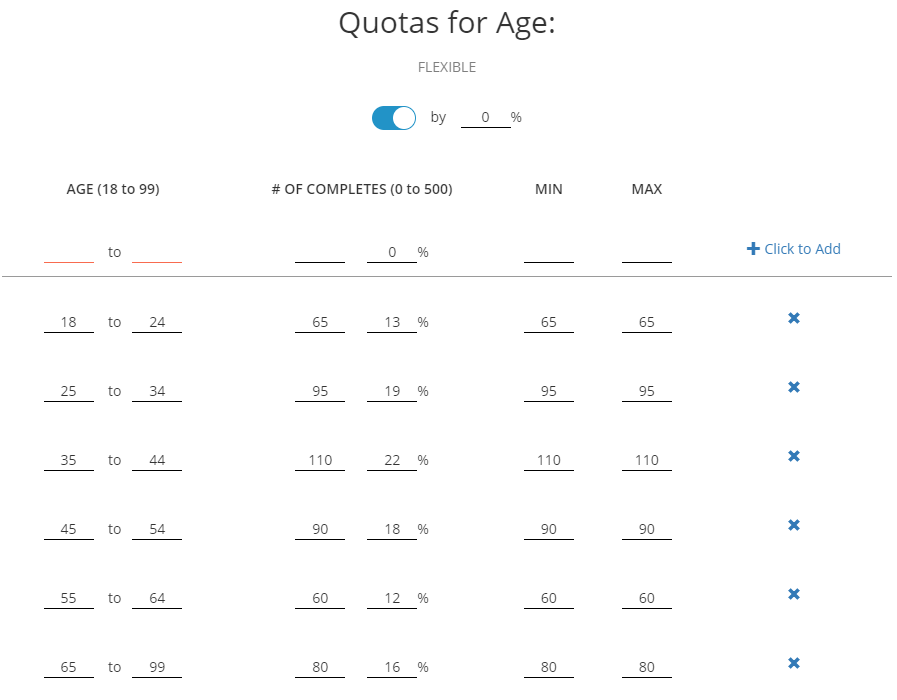
You can view the distribution by re-clicking on the drop-down arrow and selecting "Edit Quota". If needed, you can edit your distribution and click "Apply" when finished.
Watch Video
DeleteGroup Quota Conditions
If needed, you can group options together to create a single quota group.
From the drop-down option, you can click on the "Add Quotas" button.
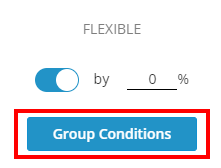
Then click on the "Group Conditions" button.
Click the options you would like to group together (they will turn blue when you click them).
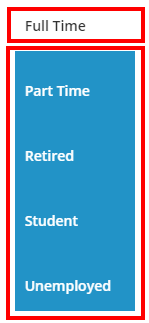
Click the "Group" button when finished.

You can click on the broken link icon, to remove the grouping.

Watch Video
DeleteQuota Nesting
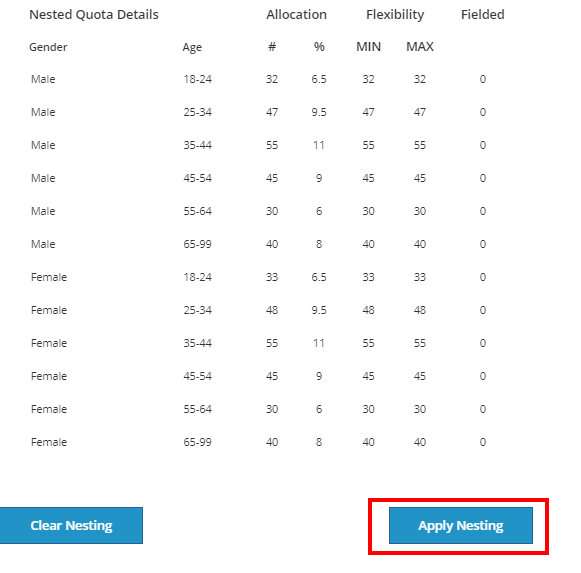
Once your quotas have been established, you can interlock quotas to create nested quotas.
Scroll to the bottom of the page below the Set Location field, and click on "Quota Nesting".
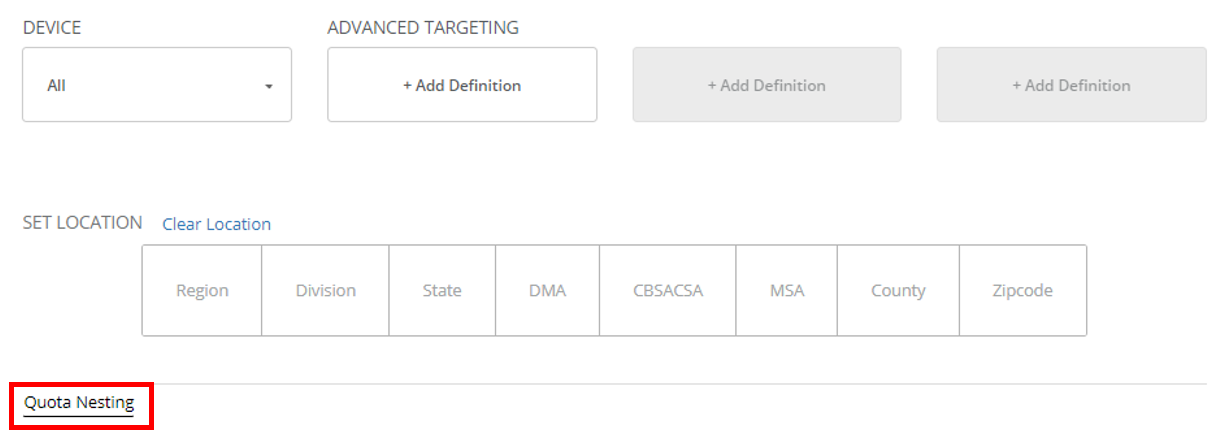
Select the quota groups you would like to interlock.

Click "Apply Nesting" when finished.
Watch Video
DeleteDelete Quotas
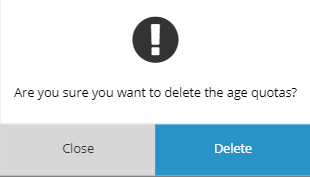
To delete any quota groups, from the drop-down option, you can click on the "Delete Quotas" button.
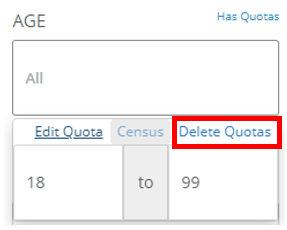
A second confirmation box will pop up and you can select "Delete" to remove the quota.
